



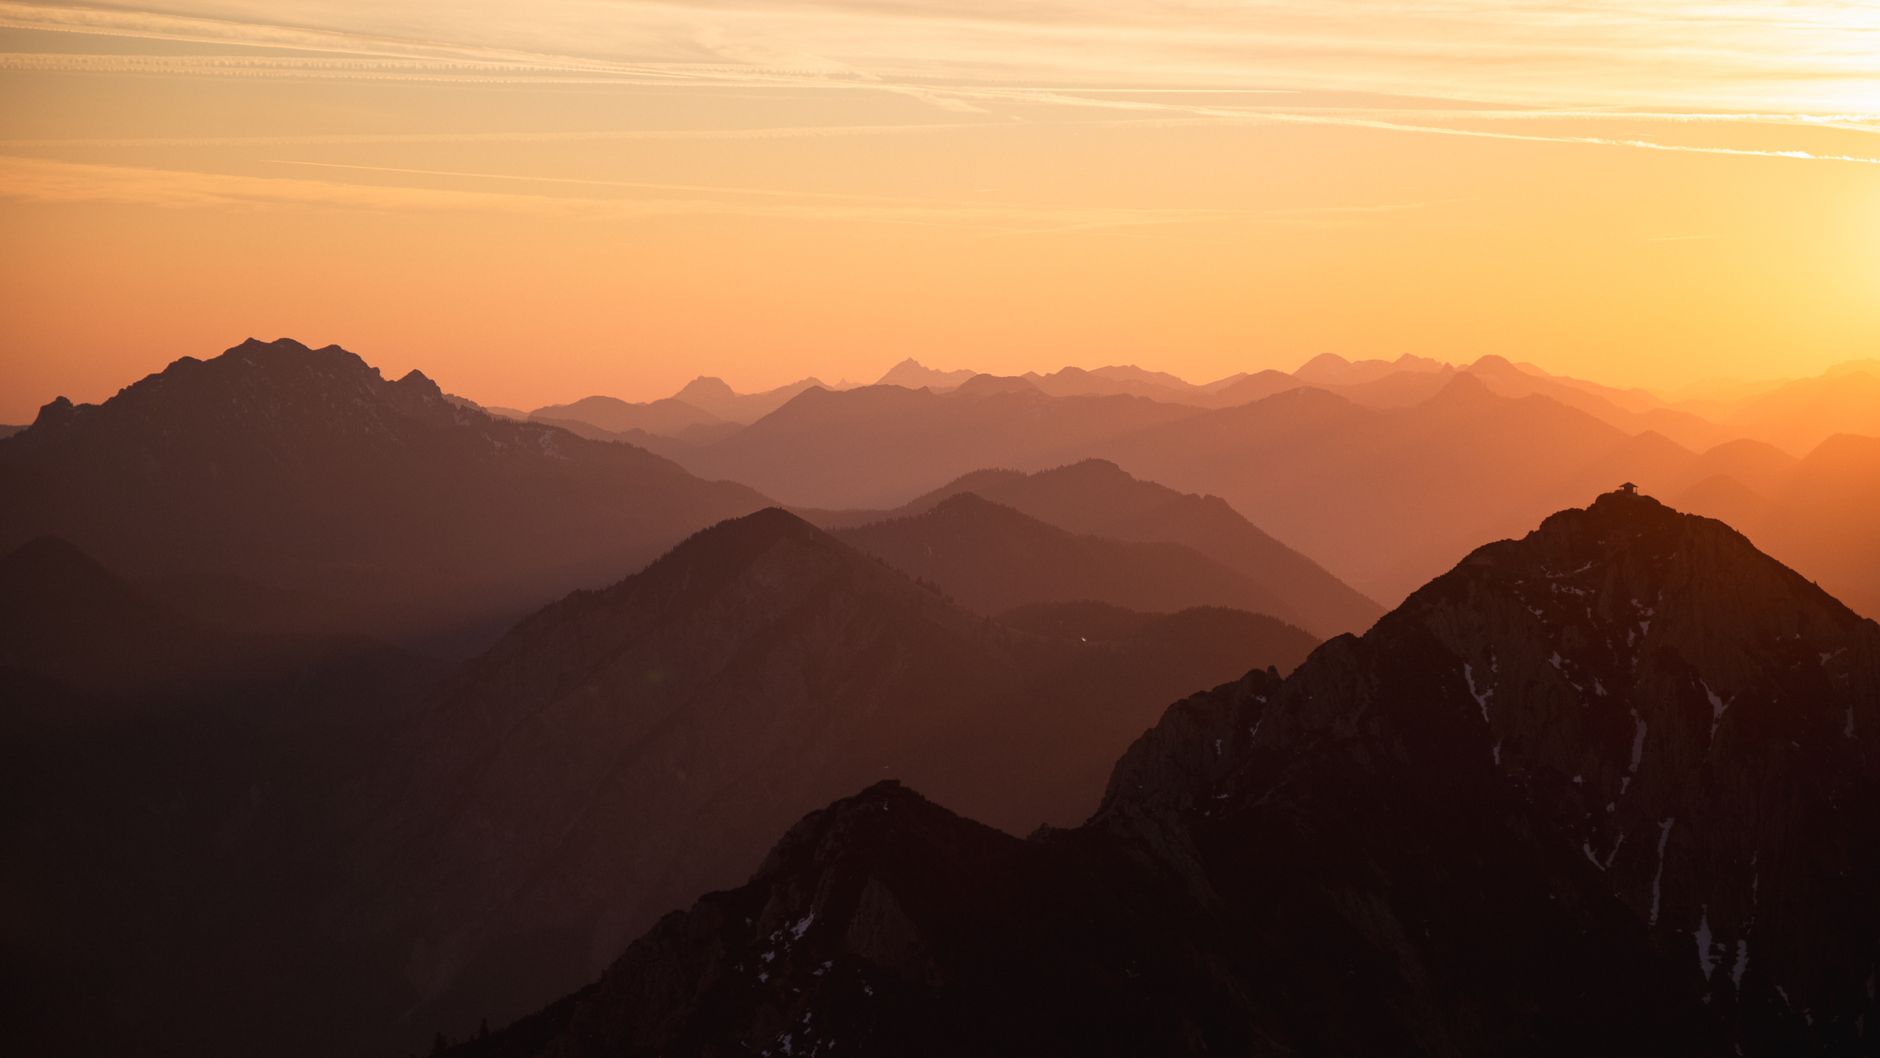
Photo by Bastian Riccardi on Pexels
Understanding RAW and Its Benefits
When you press the shutter on a DSLR or mirrorless camera, the sensor captures a flood of data—far more than a standard JPEG can store. RAW files are essentially a digital negative: they preserve every photon your sensor recorded, giving you an uncompressed, 12‑ to 14‑bit (or higher) canvas to work with. For travelers, this means you can rescue details that would otherwise be lost in high‑contrast scenes, such as the bright desert sky above a shadowed bazaar or the subtle texture of ancient stone under harsh midday sun.
Key advantage: RAW retains the full dynamic range and color gamut of the sensor, allowing you to pull back highlights, lift shadows, and fine‑tune white balance without the banding and compression artifacts that plague JPEGs.
Shooting RAW on the Road: Actionable Tips
Turning on RAW isn’t enough; you need a workflow that maximizes its potential. Below are four practical tips you can apply on your next adventure, each illustrated with a real‑world example.
- Set a custom picture style. Before you leave, create a neutral picture profile (e.g., “Flat” or “Neutral”) that reduces in‑camera contrast and saturation. In Marrakech, I used a flat profile while photographing the spice market. The resulting RAW file captured the vivid reds of paprika and the deep shadows of the awnings, which I later enhanced in Lightroom to produce a balanced, punchy image.
- Expose to the right (ETTR). Slightly over‑expose without clipping highlights. On a sunrise hike in the Andes, I aimed for a histogram that leaned toward the right edge but kept the sun’s rim just under clipping. This technique gave me extra detail in the shadowed rock faces, which I recovered during post‑processing.
- Use a low ISO and shoot in RAW+JPEG. While RAW is your primary file, keeping a JPEG backup can be handy for quick social‑media uploads. In Kyoto, I set ISO 200 for temple interiors, captured RAW for later editing, and saved a JPEG for immediate Instagram stories.
- Carry spare storage and backup power. RAW files are large—often 25‑40 MB each. On a week‑long trek through Patagonia, I used two 128 GB SD cards and a portable charger, ensuring I never missed a shot because of a full card.
Editing RAW Files for Maximum Detail
The magic of RAW truly shines in post‑production. Below is a step‑by‑step workflow that works in both Adobe Lightroom and the free alternative Darktable.
- Import and organize. Use keywords like "RAW", "Travel", and location tags. In my recent trip to Santorini, I created a collection called “Santorini‑RAW” to keep the files together.
- Adjust exposure and contrast. Pull the exposure slider up 0.3‑0.5 stops if you used ETTR. Then increase contrast modestly—RAW gives you the latitude to add contrast later without crushing highlights.
- Recover highlights and shadows. In the “Highlights” slider, lower the value to bring back blown‑out skies. In the “Shadows” slider, raise it to reveal texture in dimly lit alleyways, like the cobblestones of Lisbon’s Alfama district.
- Fine‑tune white balance. RAW lets you shift temperature and tint after the fact. When shooting the blue‑gray cliffs of the Grand Canyon at golden hour, I corrected a slight magenta cast caused by the camera’s auto‑WB, resulting in natural stone tones.
- Apply local adjustments. Use brush or radial filters to enhance specific areas. For a night market in Bangkok, I applied a radial filter to the lantern‑lit vendor stall, boosting clarity and saturation only where the light fell.
- Sharpen and reduce noise. Set sharpening to around 40‑50 and use “Masking” to protect smooth areas. For high‑ISO shots of a bustling train station in Tokyo, I applied noise reduction at 20‑30, preserving detail in the architectural lines while smoothing grain.
When you export, choose a high‑quality JPEG (80‑90% quality) for web use, or a TIFF/PNG if you need a print‑ready file. The result is a photo that retains the nuance of the original scene—something a straight‑out‑of‑camera JPEG could never deliver.
Frequently Asked Questions
Q1: Does shooting in RAW slow down my burst rate?
A: Yes, RAW files are larger and require more processing power, so you may see a slight reduction in frames‑per‑second. However, most modern mirrorless cameras still offer adequate burst speeds for travel action shots. If you need the fastest possible rate, switch to JPEG for that specific moment and revert to RAW for the rest of the day.
Q2: Can I edit RAW files on my phone?
A: Mobile apps like Lightroom Mobile and Snapseed support RAW editing, though the interface is limited compared to desktop software. For serious post‑processing, transfer the files to a laptop or desktop where you can take full advantage of local adjustments and batch processing.
Q3: How much extra storage should I plan for?
A: Assume each RAW file will be roughly 30 MB. For a 10‑day trip shooting 200 photos per day, you’ll need about 60 GB of storage. Adding a safety margin of 20‑30% is wise, so a 128 GB card is a comfortable choice.
Found this helpful? Share it with fellow travelers! ✈️
0 comments:
Post a Comment