



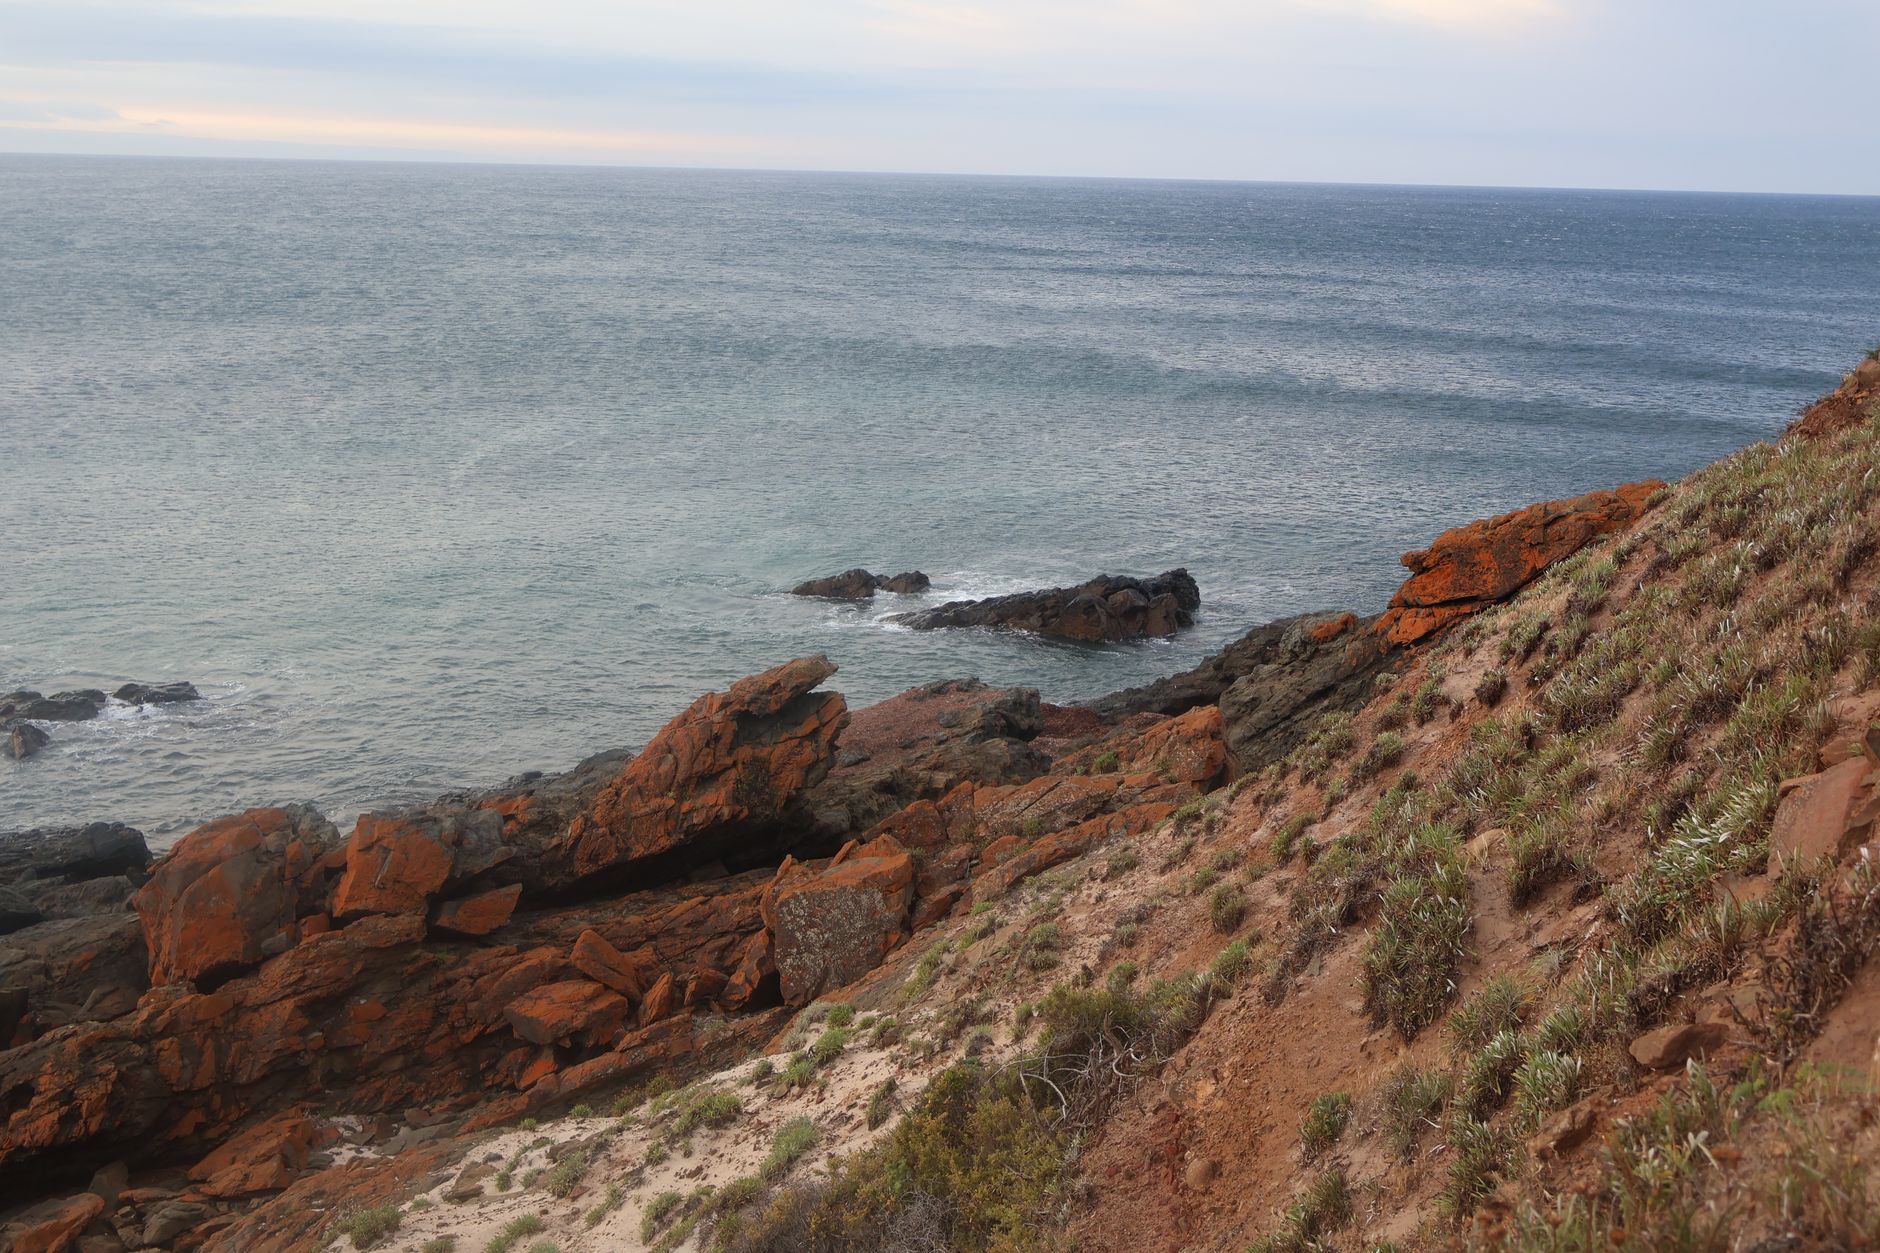
Photo by Sunny spring bean on Pexels
There’s a reason photographers chase the hour just after sunrise and just before sunset. The soft, warm glow of the golden hour can turn an ordinary scene into a masterpiece. As a travel writer who’s trekked from the cliffs of Santorini to the deserts of Namibia, I’ve learned that mastering this fleeting light isn’t about luck—it’s about preparation, technique, and a dash of creativity. Below are seven proven tricks, illustrated with real‑world examples, that will help you capture golden hour photos that truly stand out.
1. Scout the Scene Early – Know Your Light Sources
Before the sun even peeks over the horizon, spend at least 30 minutes walking the location. Identify where the light will hit first, where shadows will fall, and any natural reflectors (like water or light‑colored walls). On a recent trip to the rice terraces of Ubud, I arrived at 5 a.m. and noted that the western slope would catch the sunrise light while the mist over the fields would act as a natural diffuser. By the time the sun rose, I was already positioned on a low ridge, and the resulting shot captured the terraces bathed in a honeyed glow with the mist adding depth.
Tip: Use a simple sketch or a notes app to mark the best angles. Even a quick thumbnail can save you scrambling for a spot when the light is at its peak.
2. Use the Right Gear – Light‑Friendly Lenses and Filters
While any camera can record golden hour, certain lenses amplify the effect. Wide‑angle lenses (16‑35mm on full‑frame) exaggerate the sky’s color gradient, while fast prime lenses (50mm f/1.8 or 85mm f/1.4) let you isolate subjects against a creamy background. On my trip to the Scottish Highlands, I paired a 24‑70mm f/2.8 with a circular polarizer. The polarizer cut glare off the loch’s surface, deepening the blues and making the sunrise reflections pop.
Don’t forget a sturdy tripod. Even though golden hour light is relatively bright, a tripod lets you experiment with slower shutter speeds for silky water or motion blur without sacrificing sharpness. A compact travel tripod that folds to under 30 cm works well for backpacking adventures.
3. Master Exposure Settings – Balance Warmth and Detail
The golden hour is notorious for high dynamic range: bright highlights in the sky and deep shadows on the foreground. Here’s a three‑step workflow that I use on location:
- Spot Meter the Sky: Switch to spot metering and lock onto the brightest part of the sky. Pull the exposure compensation down 1‑2 stops to retain the warm hues without blowing out the highlights.
- Expose for the Subject: Switch to center‑weighted or evaluative metering and re‑focus on your main subject. Add a slight positive compensation (+0.3 to +0.7) to keep details in the shadows.
- Bracket: If your camera allows, shoot a quick three‑shot bracket (‑1, 0, +1 EV). Later, merge the images in Lightroom for an HDR look that preserves both sky and foreground detail.
Example: In Marrakech’s Jemaa el‑Fnaa market, I used this method to capture the spice‑laden stalls illuminated by a low sun. The sky stayed a deep amber while the market’s textures remained crisp.
FAQ
Q1: How can I shoot golden hour when the weather is cloudy?
Even on overcast days, the light is diffused and can still produce a soft, warm tone. Look for breaks in the clouds that let the sun peek through; these act like natural spotlights. Use a higher ISO (400‑800) to maintain a fast shutter speed and avoid motion blur.
Q2: Should I shoot in RAW or JPEG?
Always shoot in RAW for golden hour. RAW retains the full dynamic range, allowing you to fine‑tune the warmth, contrast, and shadows in post‑processing without quality loss. JPEG can be useful for quick social media uploads, but you’ll miss out on the flexibility RAW provides.
Q3: What’s the best time to start shooting before the sun actually rises?
Arrive at least 30 minutes before sunrise (or sunset). The “blue hour” that precedes the golden hour offers cool tones that transition beautifully into the warm glow. This window gives you time to set up, compose, and capture the evolving light.
By integrating these tricks into your travel photography workflow, you’ll turn the fleeting golden hour into a reliable ally rather than a fleeting chance. Remember: preparation, the right gear, and a solid understanding of exposure are the pillars of stunning light. Pack your camera, chase that warm glow, and let your travel stories shine brighter than ever.
Found this helpful? Share it with fellow travelers! ✈️
0 comments:
Post a Comment