



When you’re chasing festivals, rituals, or everyday customs in remote villages, the temptation to lug a full‑blown kit is strong. Yet the most authentic moments often happen when you’re light on equipment and heavy on curiosity. Below are three fast, low‑tech methods that let you capture the soul of a tradition without missing a beat. Each technique can be deployed in under five minutes, leaving you free to mingle, observe, and, most importantly, keep the story flowing.
1. Master the Art of Natural Light Portraits
Natural light is the cheapest, most flattering studio you’ll ever find. Position your subject near a window, doorway, or the open sky during the golden hour (the hour after sunrise or before sunset). Use the soft, directional light to highlight textures—think the intricate embroidery on a ceremonial blouse or the weathered hands of a storyteller.
- Gear: A smartphone with a portrait mode or a compact mirrorless camera; a small reflector (even a white poster board works).
- Tip: Hold the reflector opposite the light source to bounce fill light onto shadows, especially when shooting under a canopy of trees during a harvest dance.
- Real example: In the highlands of Guatemala, I angled a local weaver’s face toward the late‑afternoon sun, using a white napkin as a reflector. The resulting portrait captured the sparkle in her eyes and the fine weave of her backstrap loom without a flash.
Because you’re not relying on flash, you can stay unobtrusive—crucial when documenting sacred rites where intrusive lighting is frowned upon.
2. Capture Ambient Sound with Your Smartphone
Sound adds a layer of immersion that photos alone can’t provide. Most smartphones now feature high‑quality microphones and built‑in audio editing apps. Record the rhythm of drums, the chant of a prayer, or the chatter of a market stall. These audio bites become powerful anchors when you later pair them with images or written notes.
- Gear: Smartphone, optional lapel mic (e.g., Rode smartLav+) for clearer dialogue.
- Tip: Press record a few seconds before the action starts; ambient noise builds a natural fade‑in that situates the listener.
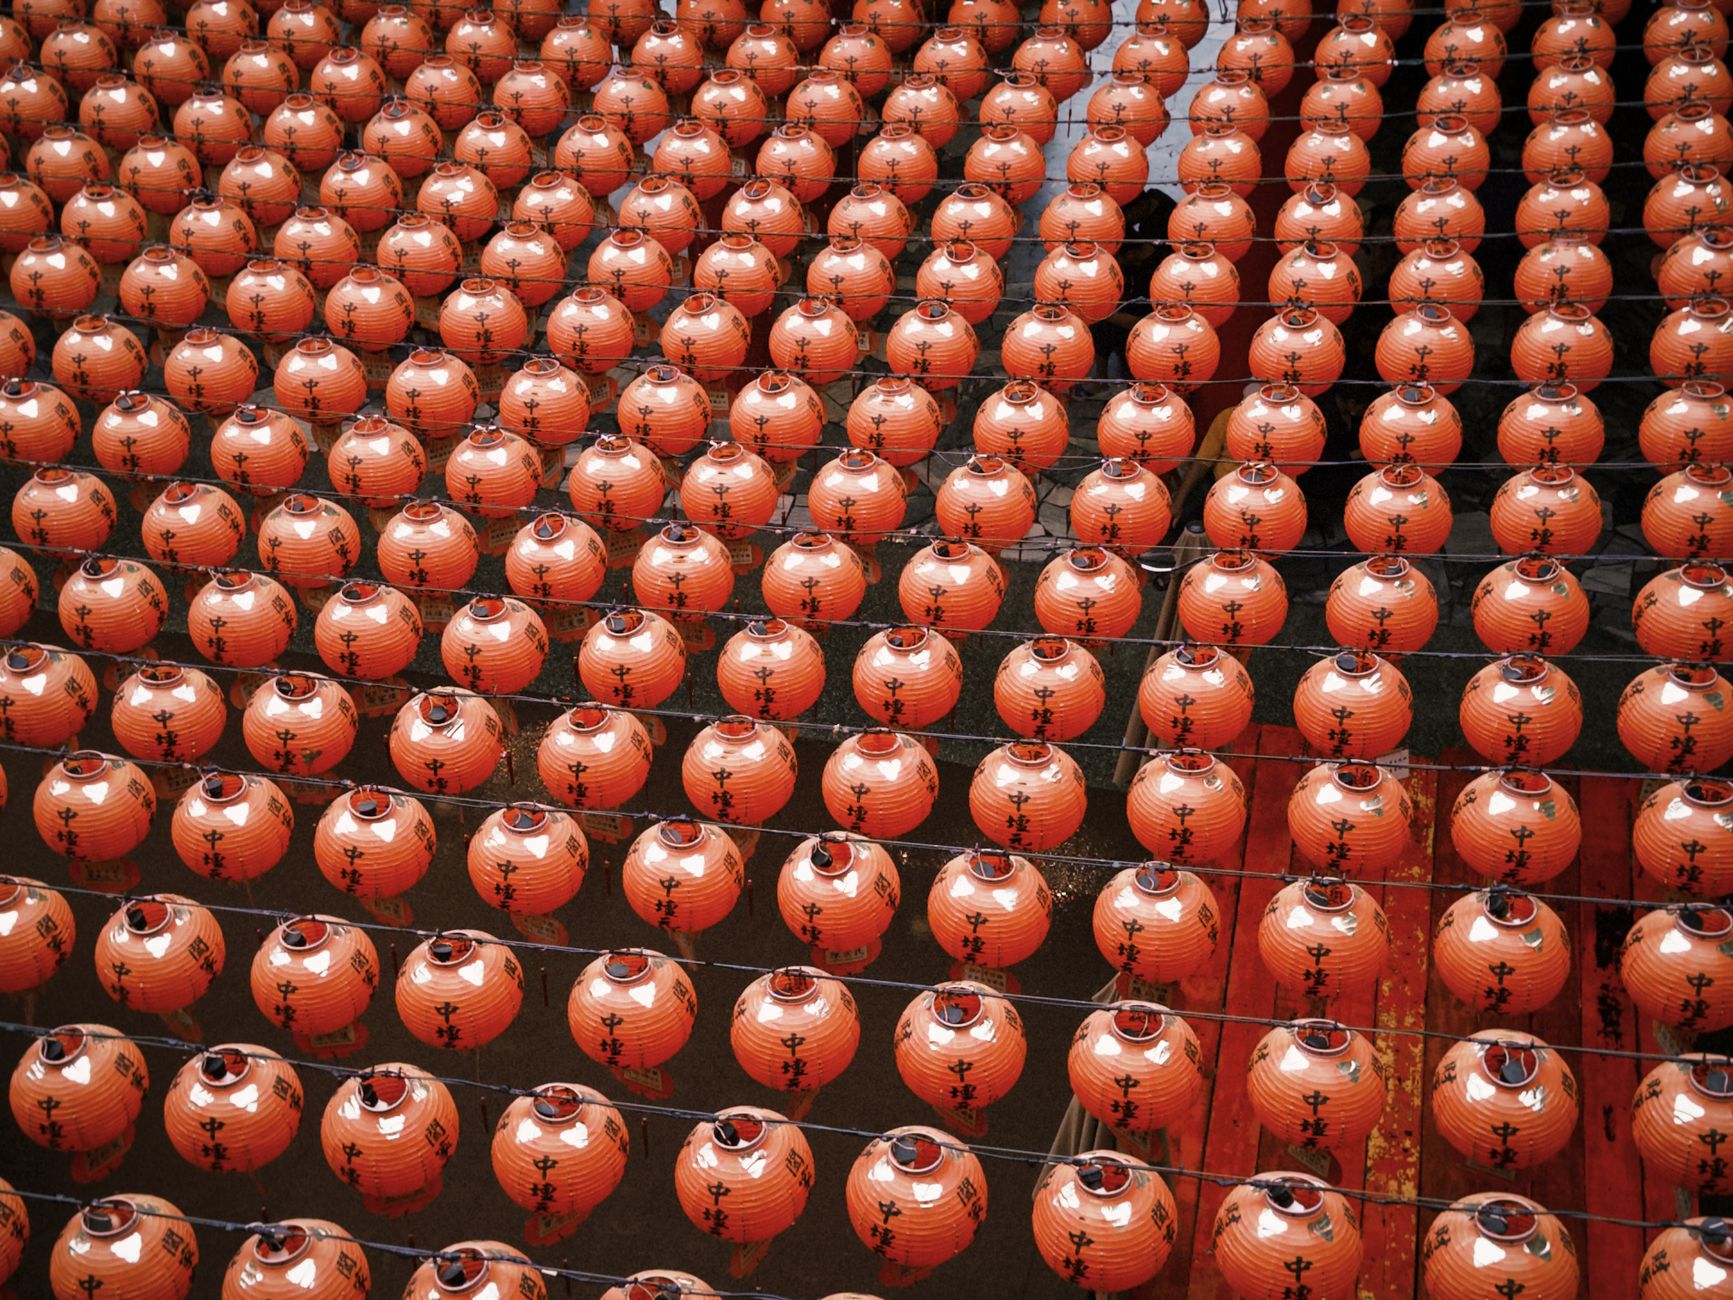
- Real example: While attending a lantern‑lighting ceremony in Taiwan, I recorded the low hum of the crowd and the crackle of burning paper. When I later edited the clip, the sound instantly transported me back to that night, making the photo series far more evocative.
Remember to ask permission when recording personal testimonies, and always note the language and speaker in your field journal for future reference.
3. Use a Pocket‑Size Notebook for Visual Storytelling
Even in a digital age, a small notebook (think Moleskine pocket or a simple field‑note pad) is indispensable. Sketch quick diagrams of ritual layouts, jot down sensory details, and list key vocabulary. These handwritten cues become the backbone of a compelling narrative and help you remember nuances that a photo’s EXIF data can’t capture.
- Gear: Pocket notebook, a fine‑point pen, and a tiny watercolor set if you enjoy adding splashes of color.
- Tip: Use a consistent shorthand—e.g., “L” for lantern, “D” for drum—to speed up note‑taking during fast‑moving events.
- Real example: During a Diwali celebration in Jaipur, I sketched the arrangement of oil lamps around a temple courtyard and noted the specific scent of sandalwood incense. Later, those sketches guided my blog layout, allowing readers to visualize the space before seeing the photographs.
The act of writing also slows you down, encouraging deeper engagement with the culture you’re documenting.
Putting It All Together: A Quick Workflow
Combine the three techniques into a seamless, five‑minute routine:
- Set the scene: Find natural light, position your subject, and frame the shot.
- Press record: Start your smartphone audio a few seconds early, then capture the visual moment.
- Snap the photo: Use portrait mode or manual exposure to lock in the image.
- Jot quick notes: In your notebook, write the time, location, names, and any sensory impressions.
- Backup: Transfer the photo and audio to a cloud folder or external drive before moving on.
This loop ensures you never miss a crucial element—visual, auditory, or textual—while keeping your pack light and your focus sharp.
FAQ
Q1: What if I don’t have a reflector?
A: A plain white sheet, a piece of cardboard, or even a light‑colored wall can serve as an improvised reflector. Position it opposite the sun to soften harsh shadows.
Q2: Can I use the same smartphone for both photo and audio?
A: Absolutely. Modern phones handle both tasks well. Just make sure you have enough storage and consider using a dedicated audio app (e.g., Voice Memos or Ferrite) to avoid accidental overwriting.
Q3: How do I keep my notes organized after the trip?
A: Transcribe key points into a digital document within 24 hours, tagging each entry with location, date, and a reference to the related photo/audio file. This creates a searchable archive for future articles or publications.
Found this helpful? Share it with fellow travelers! ✈️
0 comments:
Post a Comment