



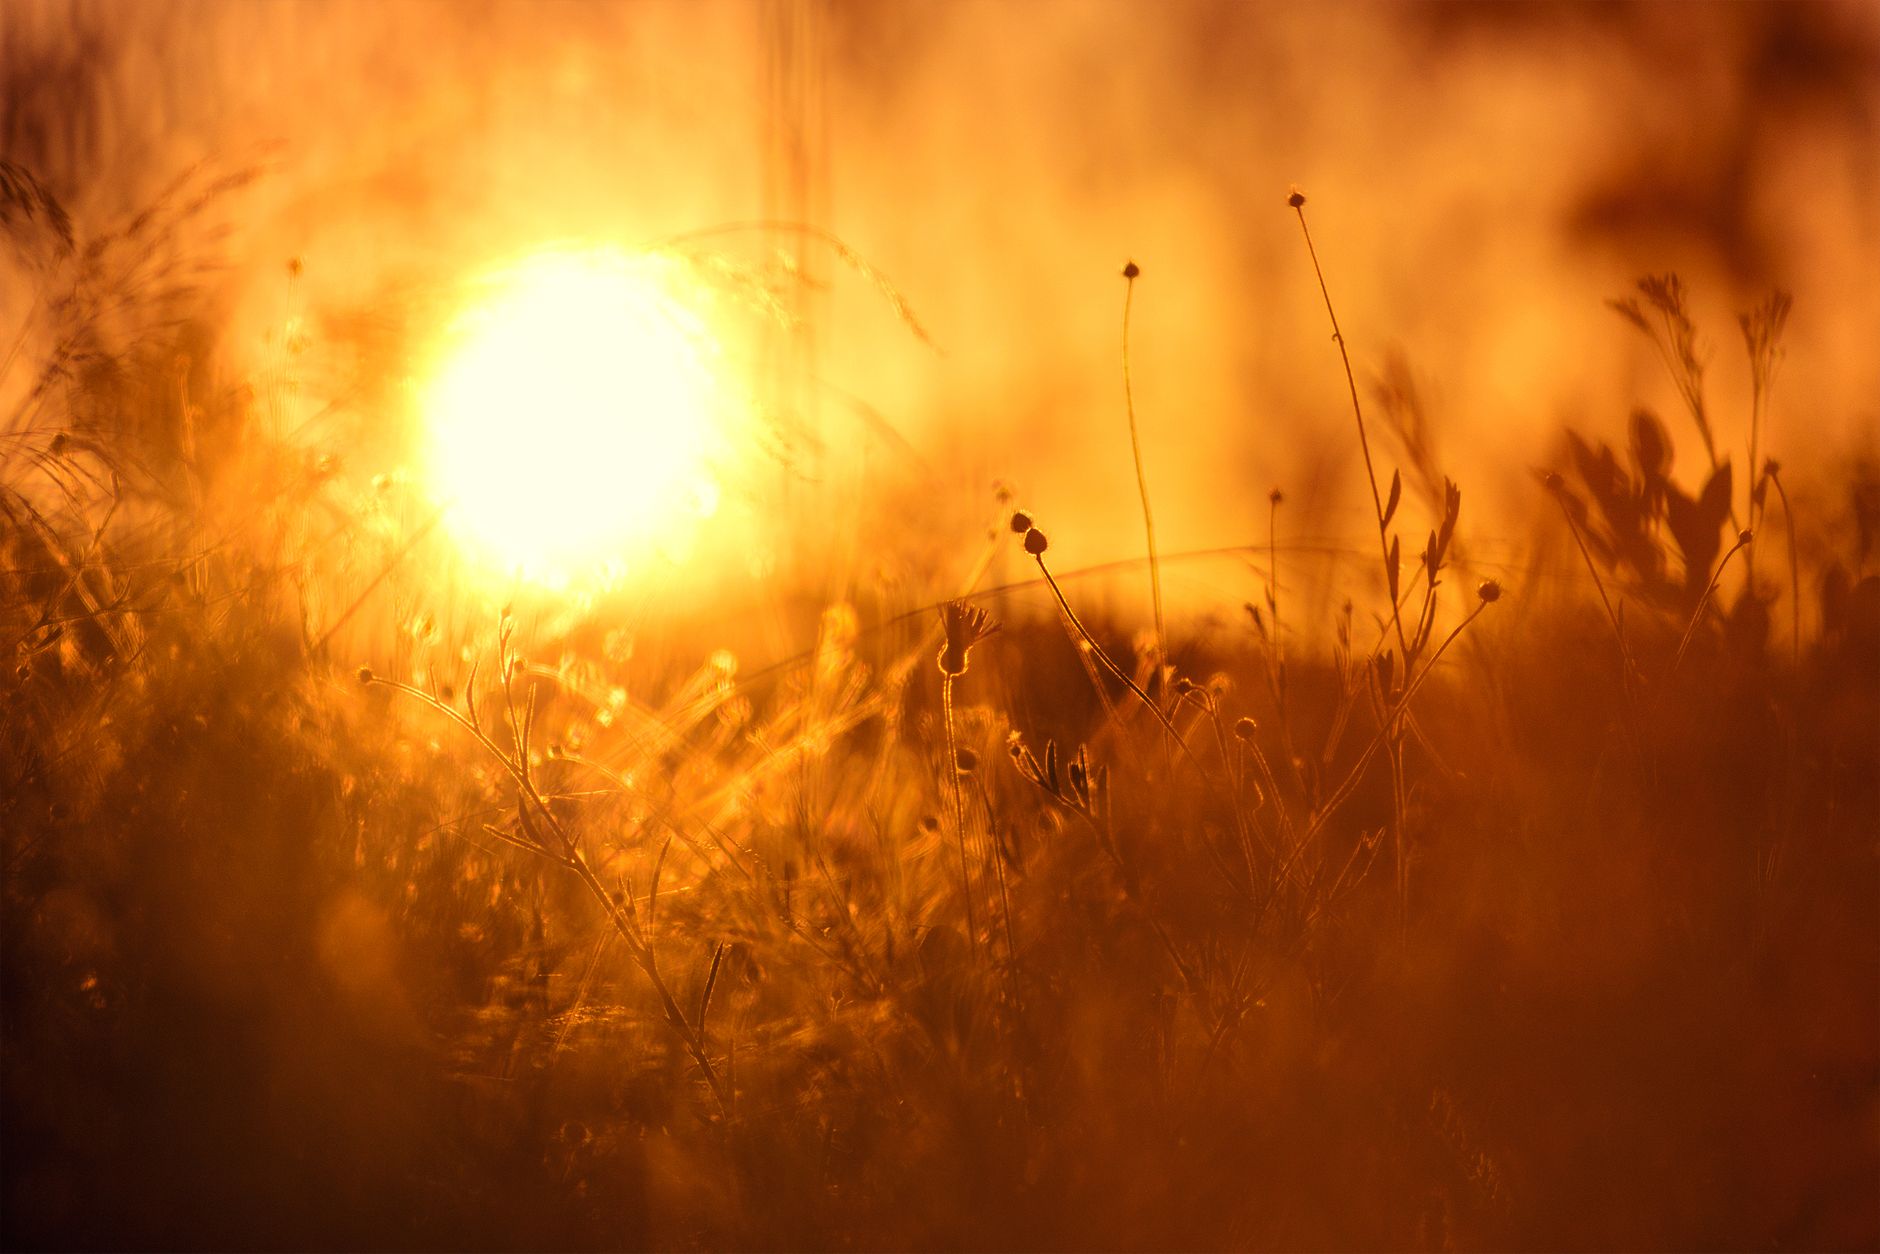
Photo by Javier Gonzalez on Pexels
There’s a reason photographers around the world chase the sunrise and sunset like a pilgrimage. The golden hour—that fleeting window of soft, warm light—turns ordinary scenes into timeless images. Whether you’re wandering the cobblestones of European towns, trekking through desert dunes, or sailing along a tropical coast, mastering this magical light can elevate your travel portfolio from good to unforgettable. In this guide we’ll break down the science, the planning, the gear, and the creative choices that let you consistently capture golden‑hour brilliance, complete with real‑world examples and a handy FAQ.
Understanding the Golden Hour
The golden hour isn’t just a poetic phrase; it’s a measurable period when the sun sits low enough to scatter shorter blue wavelengths and amplify reds, oranges, and yellows. Typically it lasts about 60 minutes after sunrise and 45 minutes before sunset, but the exact duration changes with latitude, season, and local topography.
- Why it matters: The low angle creates long shadows, adds depth, and reduces harsh contrast, making skin tones flattering and textures pop.
- Real example: In Santorini, Greece, a photographer timed a shot of the iconic white-washed churches just as the sun slipped behind the caldera. The resulting image showcases warm pastel skies that contrast beautifully with the crisp architecture.
- Quick test: Use a smartphone app like PhotoPills or The Photographer’s Ephemeris to see the exact golden‑hour window for any location. Mark it on your map and set reminders.
Understanding the science helps you anticipate the light, but you also need a plan to be in the right place at the right time.
Planning Your Shoot
Great travel photography starts long before you raise your camera. A solid plan ensures you’re not scrambling for a spot when the light fades.
- Scout locations in advance. Use Google Earth or Street View to locate compelling foreground elements—doorways, rocks, water, or locals—that will benefit from the warm glow.
- Arrive early. Get to the site at least 30 minutes before golden hour. This gives you time to set up, test compositions, and adapt to unexpected crowds.
- Consider the weather. Partly cloudy skies act like a natural diffuser, softening the light further. A clear sky gives a stronger orange hue, while a thin veil of clouds can add dramatic rays.
- Example itinerary: In Kyoto, Japan, the photographer booked a sunrise slot at Fushimi Inari Shrine. By arriving at 5:30 am (the sunrise was at 5:45 am), they captured the torii tunnel bathed in a gentle pink‑gold light, creating a sense of quiet reverence before the crowds arrived.
With a plan in place, you can focus on the technical side of capturing that perfect glow.
Technical Settings for Perfect Light
Golden hour light is forgiving, but the right settings still make a huge difference, especially when you’re shooting handheld in dynamic travel environments.
- Aperture: Shoot wide open (f/1.8–f/2.8) for shallow depth of field and creamy bokeh, ideal for portraits or isolated subjects. For landscapes, stop down to f/8–f/11 to keep foreground and background sharp.
- ISO: Keep it low (ISO 100–400) to preserve color fidelity. If the light is fading faster than expected, increase ISO in 100‑step increments—modern cameras handle up to ISO 1600 with minimal noise.
- Shutter speed: Aim for at least 1/125 s to freeze subtle movement (waves, leaves). Use a faster speed if you’re capturing bustling market scenes.
- White balance: Set to “Shade” or “Cloudy” to enhance the warm tones, then fine‑tune in post if needed.
- Real‑world tip: While photographing the Sahara dunes at sunset, a traveler used a tripod, set the camera to f/11, ISO 200, and a 2‑second exposure. The resulting image captured silky sand textures illuminated by a deep amber sky.
Don’t forget to shoot in RAW. This format retains the full dynamic range of the golden hour, allowing you to recover highlights and deepen shadows without degrading quality.
Creative Composition Ideas
The light is only half the story; composition turns a beautiful exposure into a compelling narrative.
- Silhouettes: Position subjects against the bright sky to create strong, graphic shapes. Example: A lone fisherman on a pier in Iceland, rendered as a crisp black silhouette against a fiery horizon.
- Backlighting: Place the sun behind your subject to outline edges with a rim of light. This works beautifully for flora, architecture, and people. A portrait of a child in a Moroccan market, with a golden halo around the head, instantly feels magical.
- Reflections: Seek water surfaces—puddles, lakes, or calm seas—to double the golden glow. In Bali, a photographer captured a temple reflected in a tranquil lagoon, amplifying the symmetry.
- Leading lines: Use roads, fences, or shorelines that converge toward the light source. This draws the viewer’s eye deeper into the frame. A desert road in Arizona, stretching toward a low sun, creates a sense of journey.
- Storytelling detail: Include a cultural element—a market stall, a traditional costume, a local dish—bathed in golden light to anchor the image in place.
Mix and match these techniques. The golden hour rewards experimentation because the light changes minute by minute, offering endless creative possibilities.
FAQ
1. How can I shoot golden hour when I’m traveling across multiple time zones?
Use a world clock app that syncs with your phone’s location services. Combine it with a sunrise/sunset calculator (e.g., PhotoPills) to get precise golden‑hour times for each stop. Set reminders a day before to plan your itinerary accordingly.
2. Is a tripod necessary for golden hour photography?
Not always. If you’re shooting handheld with a fast lens (f/1.8) and moderate ISO, you can get sharp images. However, a lightweight tripod is invaluable for low‑light landscapes, long exposures, or when you want to ensure perfect framing while the light fades quickly.
3. Can I use a smartphone to capture golden hour effectively?
Yes! Modern phones have HDR and night‑mode capabilities that handle the dynamic range of golden hour. Use the built‑in “Pro” mode to manually set exposure and white balance, and consider a small clip‑on lens for wider perspective or macro detail.
Found this helpful? Share it with fellow travelers! ✈️
0 comments:
Post a Comment