



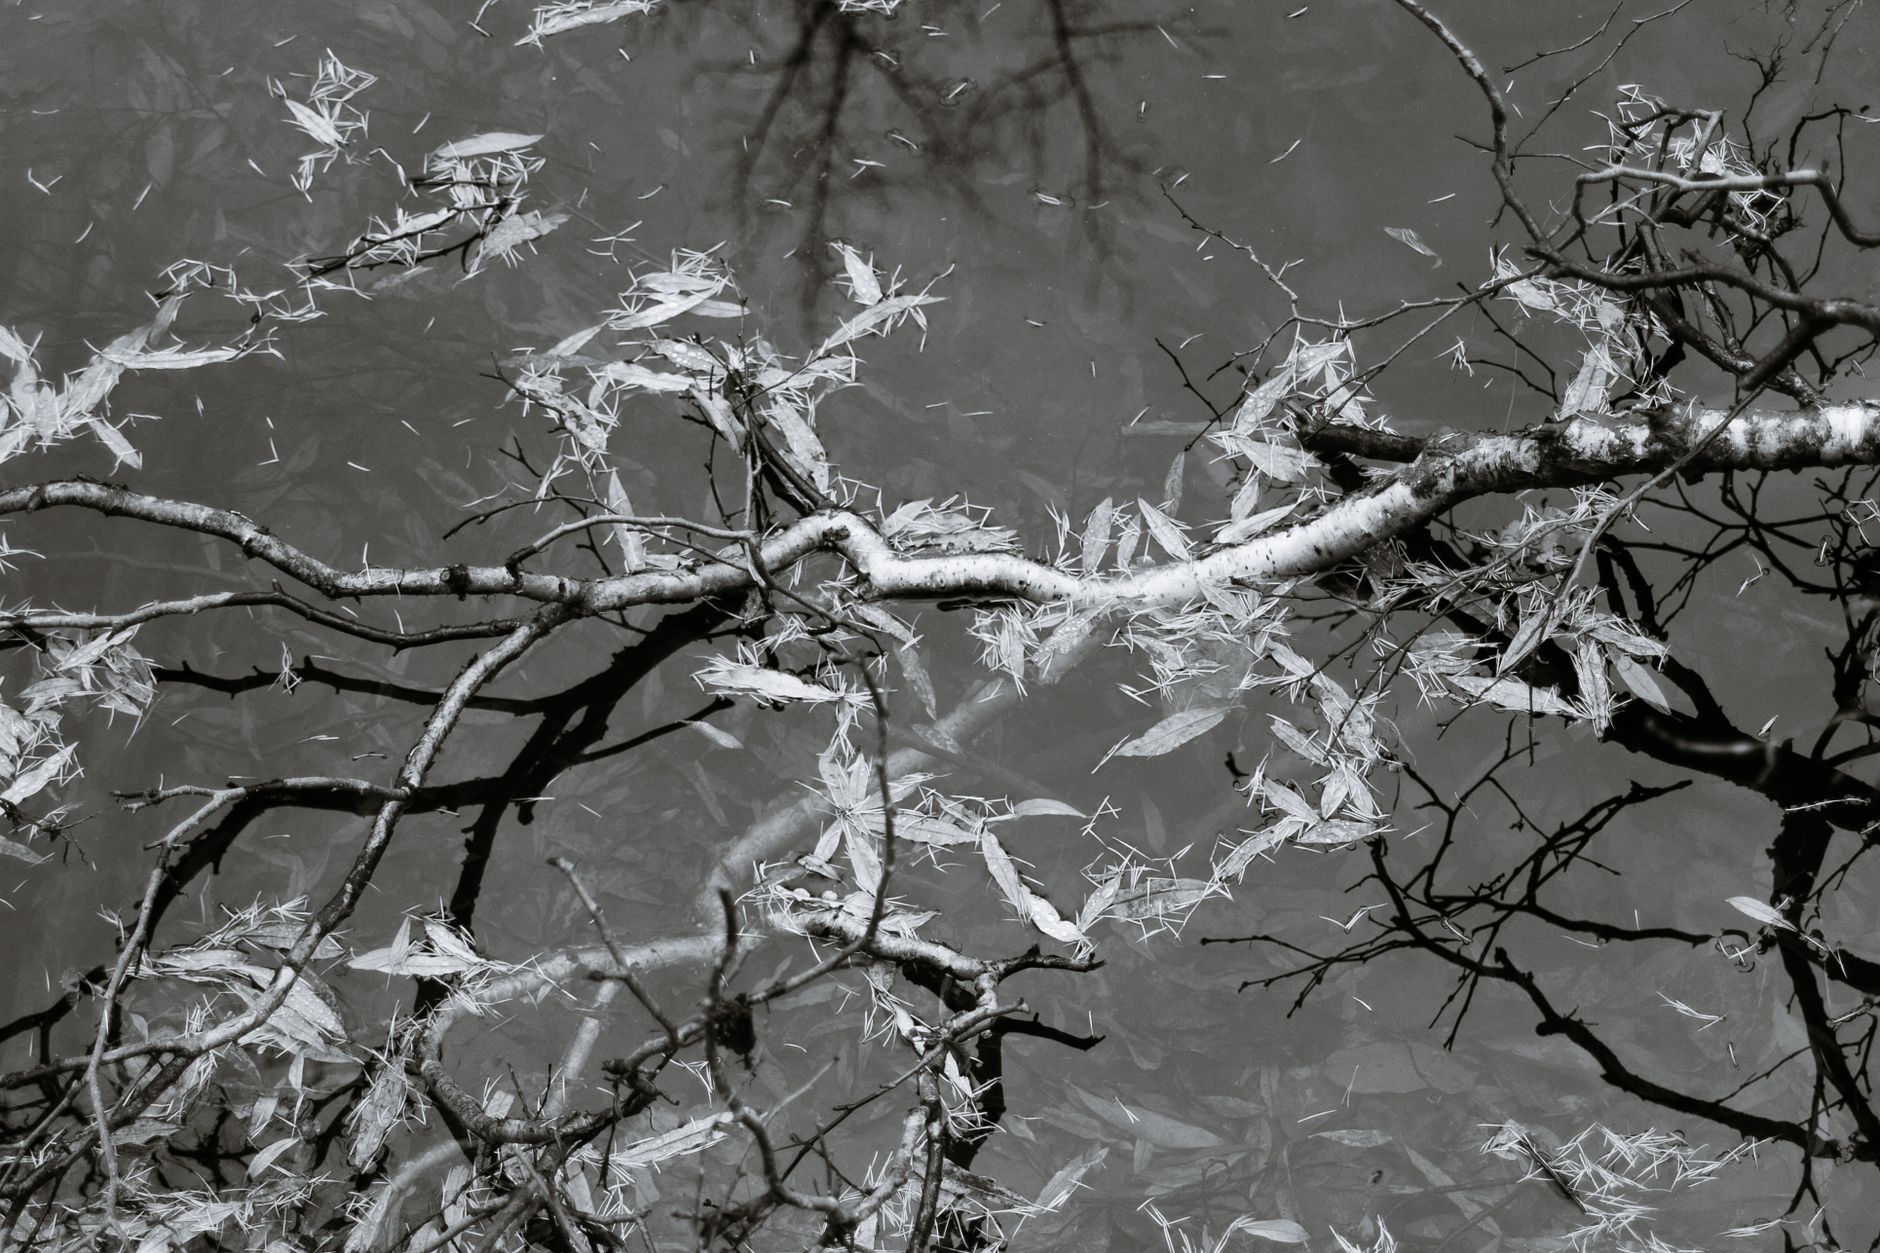
Photo by Plato Terentev on Pexels
Understanding the Magic of Reflections
Reflections turn ordinary scenes into surreal compositions. Whether it’s a glassy lake mirroring a mountain range, a puddle echoing a city skyline, or a polished metal surface catching the sunset, reflections add depth, symmetry, and a sense of wonder. As a travel photographer, recognizing where water, glass, or polished stone can become a natural frame is the first step toward creating images that linger in the viewer’s mind.
In many iconic travel shots—think of the classic shot of the Taj Mahal reflected in its pool or the Eiffel Tower shimmering in a Seine puddle—the reflection is not an afterthought; it is the focal point. The key is to treat the reflected surface as a second canvas, one that can double the visual impact when composed thoughtfully.
- Symmetry: Reflections create perfect or near‑perfect symmetry, which our eyes find inherently pleasing.
- Layering: A reflected scene adds a subtle layer, allowing you to tell two stories in one frame.
- Mood: Calm water can evoke tranquility, while a glossy skyscraper may convey modernity.
Planning Your Shot: Scout, Timing, and Gear
Great reflection shots rarely happen by accident. Successful photographers spend time scouting locations, checking weather, and preparing the right gear.
Scouting: Use Google Earth or local maps to locate lakes, canals, and reflective streets. On‑site, walk the perimeter of a body of water and look for angles where the horizon aligns with the waterline.
Timing: The golden hour (shortly after sunrise or before sunset) provides soft, warm light that enhances colors and reduces harsh glare. Overcast days, on the other hand, flatten contrast and are perfect for capturing crisp city reflections without distracting highlights.
Gear: A sturdy tripod is essential for low‑light or long‑exposure shots. A circular polarizer can help manage glare on water or glass, while a neutral density (ND) filter allows you to use slower shutter speeds for silky water effects.
Real‑world example: In Kyoto’s Arashiyama district, I arrived at dawn to photograph the iconic Togetsukyo Bridge reflected in the misty Katsura River. By arriving 30 minutes before sunrise, the low sun created a golden halo that doubled in the calm water, giving the bridge a dream‑like quality.
Shooting Techniques: Composition, Exposure, and Creative Tricks
Once you’ve found the perfect spot, the technical choices you make will determine whether the image sings or falls flat.
Composition: Use the rule of thirds to place the horizon or reflected line off‑center. Incorporate leading lines—such as a dock, a row of trees, or a road—that guide the eye toward the reflection. Remember to include a foreground element (a rock, a boat, a person) to give scale and context.
Exposure: Reflections often appear darker than the scene they mirror. Meter for the brightest part of the scene (the sky or a lit building) and then dial down the exposure by 1–2 stops to retain detail in the reflected area. Bracketing (taking multiple exposures) is a reliable way to capture both highlights and shadows for later HDR blending.
Creative tricks:
- Use a splash: Drop a pebble into a still pond to create ripples that add texture while preserving the reflected image.
- Mirror yourself: Position yourself at the edge of a reflective surface for a playful self‑portrait that showcases both the traveler and the destination.
- Night reflections: Capture city lights mirrored in a rain‑slick street. Use a tripod, a low ISO, and a shutter speed of 10–20 seconds for smooth, glowing reflections.
Example in action: While visiting the glass‑clad Harpa Concert Hall in Reykjavik, I angled my camera low, used a 24mm lens, and placed a small wooden stool in the foreground. The resulting image showed the building’s geometric façade doubled, with the stool adding a human scale reference.
Post‑Processing & FAQ
Even the best‑shot reflection can benefit from subtle editing. Here’s a quick workflow:
- Crop and straighten: Ensure the horizon line is level; a tilted reflection looks unnatural.
- Adjust exposure: Lift shadows slightly to reveal detail in the water without blowing out the sky.
- Enhance contrast: Use a modest contrast boost (10‑15) to make the mirrored image pop.
- Color balance: If the reflection appears too cool, warm it up with a slight temperature increase.
- Remove distractions: Clone out floating leaves or stray footprints that break the symmetry.
When you follow these steps, the final image feels intentional and polished, ready for Instagram, a travel blog, or a printed portfolio.
FAQ
Q1: How do I avoid glare when shooting reflections on glass?
A: Use a circular polarizer and tilt it until the glare diminishes. If the polarizer isn’t enough, change your shooting angle—often a slight shift of 10‑15 degrees eliminates unwanted reflections.
Q2: Should I always use a tripod for reflection shots?
A: While handheld can work in bright daylight, a tripod is crucial for low‑light, long‑exposure, or HDR bracketing. It also helps keep the camera perfectly level, which is vital for symmetrical reflections.
Q3: Can I edit reflections to create a perfect mirror effect?
A: Yes. In Lightroom or Photoshop, you can duplicate the layer, flip it vertically, and align it with the original scene to produce a flawless mirror. Use a mask to blend the seam and retain natural water texture.
Mastering reflections transforms ordinary travel moments into unforgettable visual stories. With careful scouting, thoughtful composition, and a pinch of post‑processing magic, you’ll turn every lake, glass façade, and rain‑slick street into a canvas of mirrored wonder.
Found this helpful? Share it with fellow travelers! ✈️
0 comments:
Post a Comment