



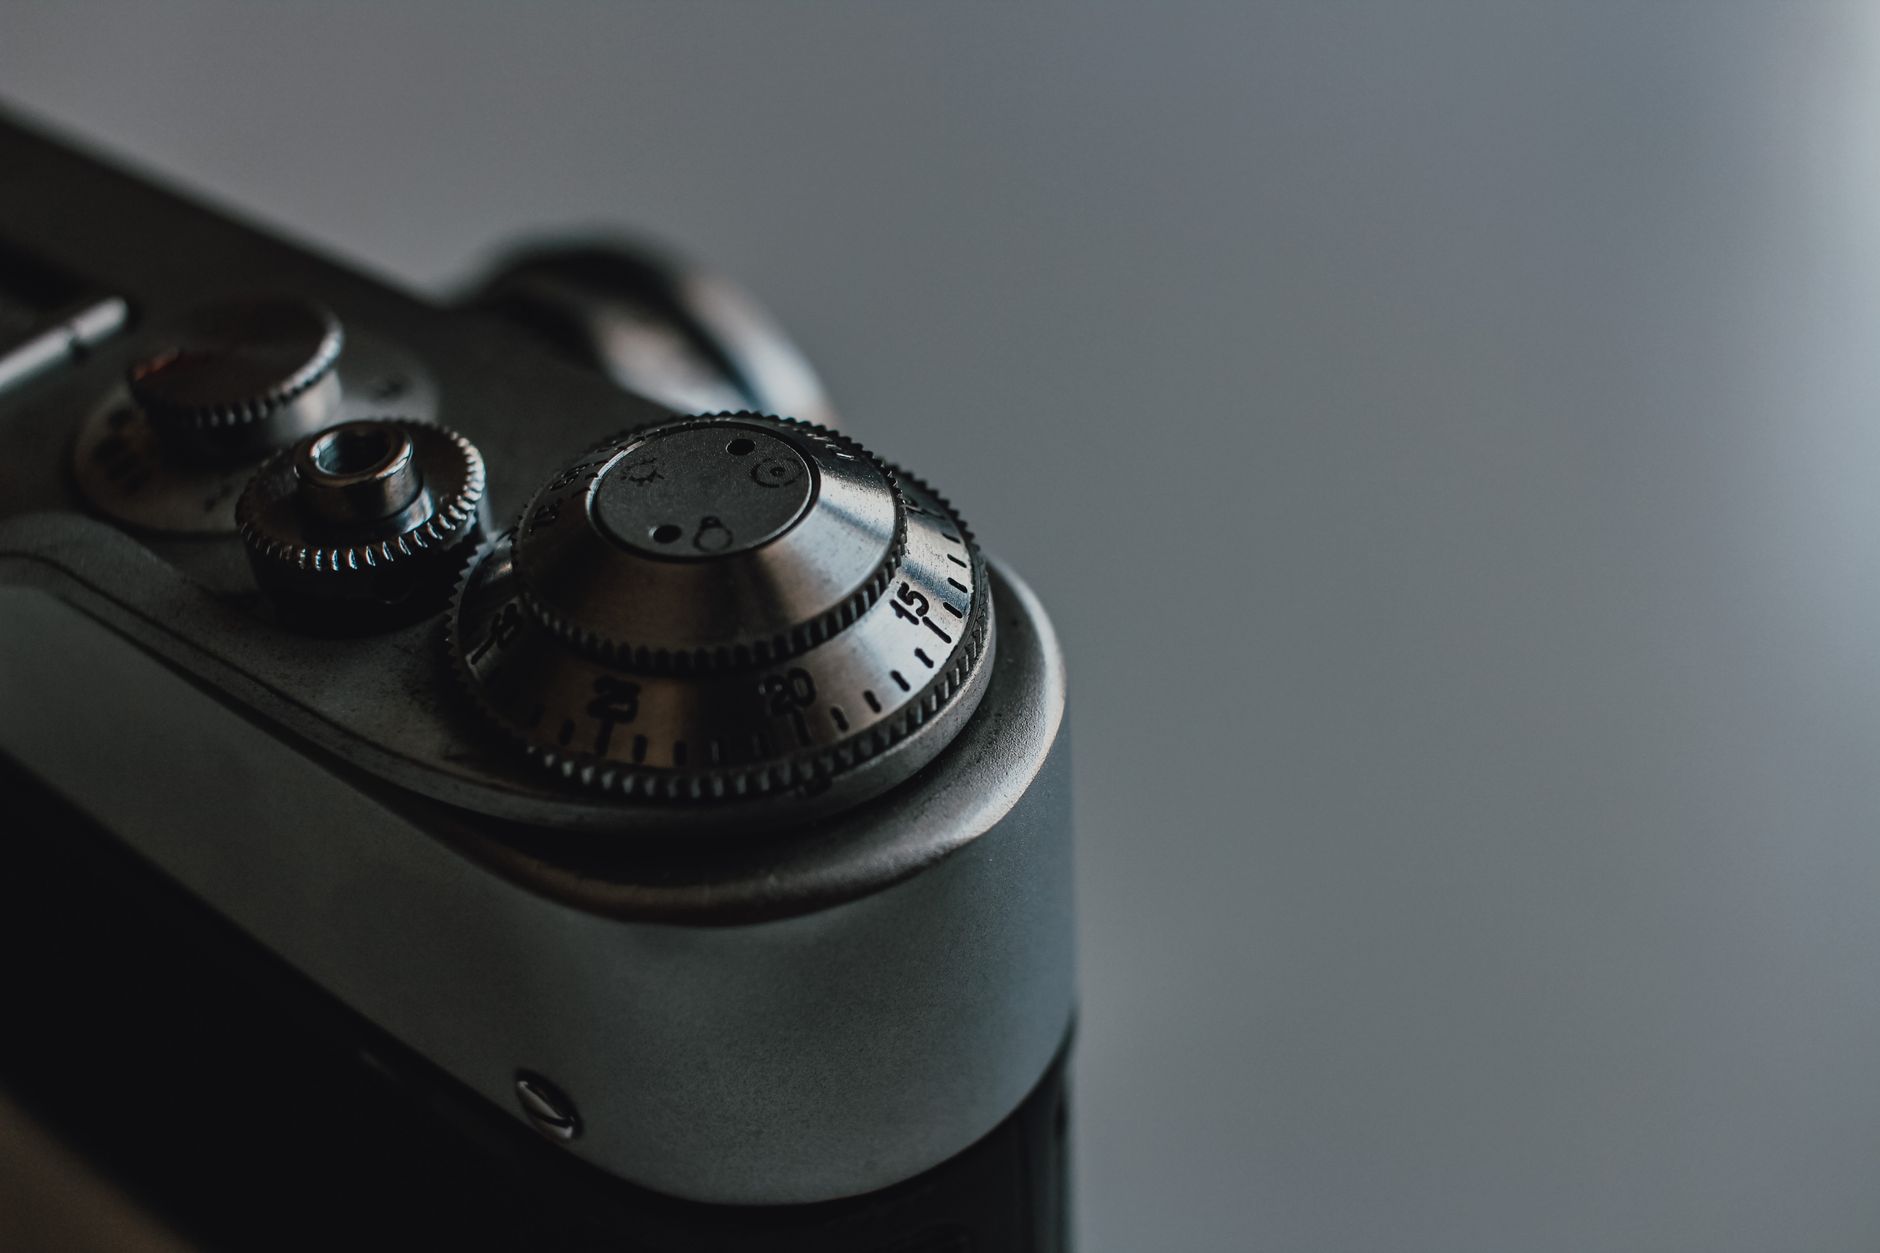
Photo by Sena Aykut on Pexels
Every traveler knows that the moment you step off the plane, the perfect shot can slip away in a flash. The secret to catching those fleeting frames isn’t a fancy lens or a high‑end drone—it’s a habit. A 30‑second pre‑trip checklist can turn a chaotic packing session into a streamlined ritual that guarantees your camera is powered, protected, and primed for adventure. Below you’ll find a step‑by‑step guide, real‑world examples, and a quick FAQ to keep your gear ready for any destination.
Why a Quick Checklist Matters
Travel photography is a race against time. From sunrise over the Grand Canyon to a sudden street performance in Bangkok, the window for a great image can be seconds long. A short, repeatable checklist does three things:
- Eliminates forget‑outs. Even seasoned shooters leave batteries or memory cards behind.
- Saves mental bandwidth. When you’re on a moving train, you don’t want to be puzzling over settings.
- Protects your investment. A quick check for dust, moisture, or loose caps prevents costly repairs.
Think of the checklist as a mental warm‑up—just as athletes stretch before a game, you prime your camera before the journey.
The 30‑Second Checklist: Step‑by‑Step
Set a timer on your phone for 30 seconds and run through the following items. Each step takes roughly 5‑6 seconds.
- Battery Power: Insert a fully charged battery and verify the charge indicator. If you have a spare, slot it in now.
- Memory Card: Insert a high‑capacity, fast‑write card (UHS‑II or V90 for 4K video). Double‑check that the card locks are engaged.
- Lens Cleanliness: Use a microfiber cloth to swipe the front element. A quick blow‑off with a lens brush removes dust that could show up in desert skies.
- Settings Snapshot: Switch to your go‑to shooting mode (e.g., Aperture Priority for landscapes, Manual for street). Set ISO to a baseline (e.g., 100‑200) and confirm white‑balance is on Auto.
- Protective Gear: Attach a UV filter or protective hood, and make sure the camera strap is securely fastened.
- Backup Plan: Pack a compact, lightweight backup camera (like a Sony ZV‑1) in an accessible pocket.
When the timer dings, you’re ready to roll. The entire routine can be practiced at home, so it becomes second nature.
Real‑World Examples: From Tokyo Streets to the Sahara
Example 1 – Tokyo at Night: Maya, a freelance photographer, was chasing neon reflections in Shibuya. She remembered to check her battery and swapped in a spare before the subway ride. The extra 20 minutes of power let her capture a 10‑minute exposure of the crossing’s light trails without missing the last train.
Example 2 – Sahara Sunrise: Carlos headed out at 4 a.m. for a sunrise over the dunes. By running the checklist, he ensured his 64 GB card was formatted and his lens was dust‑free. The result? A crystal‑clear silhouette of a camel caravan, free of the sand specks that have ruined many desert shots.
Example 3 – Icelandic Waterfalls: Lena packed a waterproof housing for her mirrorless camera. The checklist reminded her to seal the housing and test the O‑ring before the flight. When a sudden rainstorm hit Gullfoss, her camera stayed dry and she captured a dramatic waterfall cascade in perfect focus.
These anecdotes illustrate that a 30‑second habit can be the difference between a missed opportunity and a portfolio‑winning image.
FAQ: Your Checklist Questions Answered
- 1. Do I need a different checklist for each camera system?
- While the core steps (battery, card, lens, settings, protection, backup) stay the same, you can add system‑specific items—like firmware updates for Sony or sensor cleaning for Canon. Keep a master list and a short version for each gear set.
- 2. What if I travel light and only have a smartphone?
- The same principle applies. Check battery level, free storage, lens cleanliness (screen), and enable the preferred shooting mode (Pro or HDR). A quick “phone‑ready” checklist can be even shorter—about 10 seconds.
- 3. How often should I repeat the checklist during a trip?
- Run it at the start of each major shooting day, after any long transit (flights, buses), and whenever you change lenses or accessories. A quick re‑check before a sunset or a night shoot is especially wise.
Implementing this 30‑second ritual transforms your travel photography from reactive to proactive. The next time you zip up your bag, set a timer, and run through the steps—your camera will be as ready as you are for the next unforgettable shot.
Found this helpful? Share it with fellow travelers! ✈️
0 comments:
Post a Comment